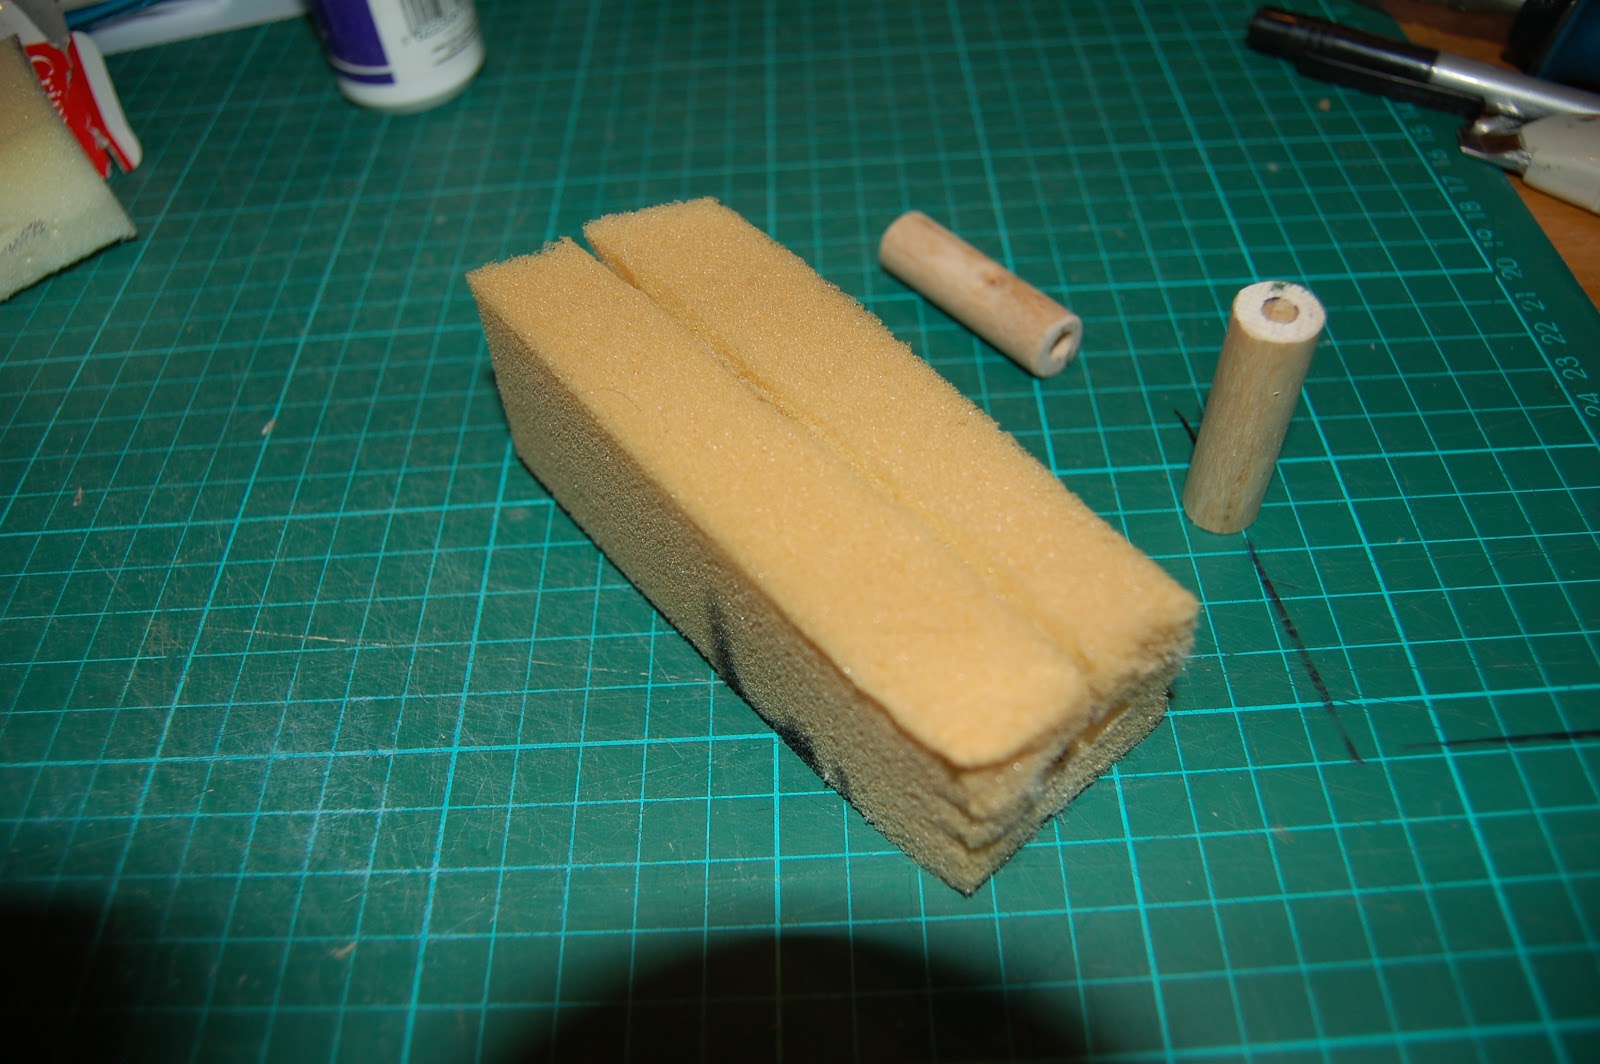
Friday 14 December 2012

Everything and the Kitchen Sink

I dug out the old kitchen sink from my original set, looks in good shape! ...well apart from a couple of small cracks in the sink, sink and work top are thanks to my old friend Michael Allsop Smith 
Kitchen base units work top & sink
Kitchen sink and taps

......also been a little busy doing some more pottery must get these up for sale soon!
Biscuit fired mugs (various styles)
Biscuit fired mechanical mug (close-up)
Mechanical mugs glaze style 1
Mechanical mugs glaze style 2
Standard mug blue and green glaze


Wednesday 12 December 2012

Hands & Rivets

I have put together a series of photo's showing the stages of the hands construction
Ruff cut foam hands with Ali wire armature + K & S sleeve

Hands with armatures and foam snipped to shape
Paper templte for fabric + finished hands
Sprayed black arm + lentils glued on robot bodies for rivet effect.

Monday 10 December 2012

Arms a new direction!

After the slight problems I had with the arms I desided to try another idea.

First I cut oblongs pieces of foam then sliced them down the middle, then I cut a recess along the centre line to accept two dowel arm stiffeners that I had previously cut which were all glue in place with fabric glue, I further sniped the foam to make a more round uniform shape.

Then I machine sewed a tube of stretchy fabric together,
next job I squeezed the foam into the fabric tube shape then hand sewed the ends up.
To finish of the arm shapes I rapped wire around a broom handle before twisting the ends together (4 wire rings per arm) these rings I slid over the fabric and sponge arms.

 And to finish off the arms I made an internal Aluminium wire armature with Brass K & S socket ends. 

 (see picture below)


Thursday 6 December 2012

It's about time I did another update!!

Since the end of the summer I have been busy with jobs on my home, I am know getting back on track with the business at hand…..finishing my Robots.

The next step was to make the arms, these I decided to make out of silicon, so first off I set about making the arms out of a waxed based clay, after a couple of attempts to sculpt the arms I realised I wasn’t going to achieve the uniformity I was after,

So with my thinking head on I struck upon the idea of turning the arm shape out of wood on my lathe, after gaining some success with this approach I then sanded and spray finished the turned shape before attaching a sculpted hand ready for molding (see images below).

Turned arm shape


Arm ready to be moulded

Casting mould sides  (Sorry no pictures for this next stage) 

the next step I set the arm half way in the mould on a bed of ceramic buff grey clay and smoothed this around the arm to the half way mark that I had previously made on the arm shape then I made 2 round keying shapes in opposing corners next I poured the plaster.

Next day I removed the base panel and removed the damp grey clay, after cleaning up the mould side I waxed it before pouring the second sided with plaster, after another 24 hrs or so I removed the out side panels then slowly prized apart the mould sides.......PROBLEMS!  the plaster mould hade not released it self from the arm shape, on close inspection small fibres had been standing up inside the grooves of the arm and had keyed in these finer grooved details, also moisture had got in to the wood bloating the shape making it slight deformed.

Back to the drawing board!


 Delivery from Ebay

I had been following several  variable transformers on ebay and had won one of the auctions......Large parcel arrives in the post.

This I hope will guard me against any bad flicker from the film lighting.

Variac Transformer


 More updates coming soon


Thursday 16 August 2012

Robot construction Update

Problematic legs
First I cut some 1 3/4" tubes (12 X) from a length of plumbers waste pipe, once cut the raw edges had to be sanded, I then covered each section with aluminium ducting tape (this part was ok)

Next I wanted to make foam spacer joining pieces to go between the tube sections so I cut all the disc's from a 10mmm foam exercise mat (all 40 of them) this I intended to cover with black tape but it had the desired effect of either distorting the disc shapes, not sitting flat or coming unstuck
(this stage didn't go well and was scraped).


Rethink
I decided to make a mould and cast the joints from black silicon (this is working very well) 
the first step was making the joint out of sculpy, once baked and cool I made a central line through where the joint will be then I made a two part mould from fine casting plaster,
moulding with the silicon has proved straight forward
see image below.
Robot body
I have had to bolt the hips to the legs (for constructional reasons) and the hip section to the body to make the waist swivel.
shoulder caps have been made from ping pong balls
and dome head from empty pop bottle (doing my bit for recycling)
see image below.

Wednesday 1 August 2012

Twins....................Robot X2

I have been busy making a start by building my robot puppets.
I started by making strong ball & socket armatures for the core of the legs and then constructed the bodys from styrofoam sheets and mdf, the puppets feel relatively light up till now so thats a good thing.

                                            Robot body parts
                                                  Hips & Legs


More updates coming soon.


Tuesday 3 July 2012

Old set parts down from the loft

Over last weekend I pulled some of the original set pieces down from the loft, all in all they had fared well over the years.
The table needs one of the legs gluing back also the small kettle handle needs a bit of remedial work doing (more gluing).
I placed a full size cutout of the main character in amongst the set pieces to try for size (looks good to me).

I will still need to do a bit of finalising to the decorating here and there.

Table, chair and props


Bedside cabinet


Bed with pillow and armatured duvet


Gas Cooker with eye level grill

Monday 2 July 2012

Head & Shoulders

My first big test with sculpey 

On previous times using either fimo or sculpey (oven-bake-clay) it has been restricted to very minor small projects and what I had learnt from using the oven bake clay was that I would need a support structure for my head & shoulder sculpt.
I could have used a wire type armature under the sculpt but chose instead to used shaped pieces of styrofoam joined with cocktail sticks.

In the pictures below the sculpt is in 3 stages Armature, first sculpt with key marks (like a golf ball) and then the front & side finished views.
Note I used 10mm white sprayed beads.

Armature

First sculpt & bake


Last sculpt (front) finished & baked


Last sculpt (side) finished & baked


In my original drawing of the character I had him with a tuff of hair sticking up at the back of his head but after several trial attempts that all looked like some sort of flower on the back of his head, I came to the executive decision and ditched the tuff of hair.


Friday 25 May 2012

Character designs

Been doing a bit of work on updating some of the character designs.
 

Break down of  Robot & Dreamer ready for building armatures.

Wednesday 23 May 2012

Update over due!

Foley sound recording started well but I got a little side tracked after reading Tom Brierton's book 'Stop-Motion Armature Machining' which was bought for my birthday, so I decided to invest in some new machinery.

So the heavy box arrived.....one hernia later I managed to get the lathe out of the box and on to my bench

The lathe needs a fair bit of setting up but I'm up for the job!


 Also purchased steel from Ebay ready for armature building.


I have had a tub of small discarded telescopic ball/arm ends for some time these should come in handy!
I believe these ball ends are stainless but soft enough to drill...these I hope to silver solder making a stronger armature than any previous armatures I have built.


Thursday 26 April 2012

Hard day's work on the RP

Been busy today printing and testing the Rapid Prototype 
machine.

Sorry it's not about my film but it is significent in the world of Stop Motion films.

Wednesday 25 April 2012

Film Update

Animatic
Well I have finished the Animatic edit!! 
Just need to add foley sounds to bring it to life, which I will recording over the next week.......I'm going to record the music score later.
The Animatic came to around 3mins 40sec so with title/credits the film should be around the 4 min mark.

Character design
I have been working on character design this week 
(see image below)


I have also now calibrated the Rapid Prototyper for work and have had reasonable success in printing out a small down loaded mug.
 Looking forward to designing something myself!

Wednesday 18 April 2012

RP Building

I have had the please of building a Rapman 3.1 Rapid Prototyper (3D printer) in my job position as an Art, Design & Technology Technician. 
This is a cool thing to build, but for me what tops it is that these machines are becoming the way forward for many top Stop motion Animation studio's.

The build is finished and I am in the commissioning stage.
At first the main board was not talking to the X Y& Z axes but a few tweak's later and it has burst into action,
Just needs a bit of calibrating before my first test run.


Monday 16 April 2012

Ball & Socket Test

I put a little Test together using my un-tried ball & socket armature a trial version of stop motion pro 7.5 studio HD plus a borrowed Canon eos 500D, it was a little problematic at first getting the camera talking to the software (could have been user error) but I found the test very successful on the whole.
My old version of stop motion pro version 3.5 had become very unstable which I had felt was down to the large content on my laptop but the the new 7.5 version was steady as a rock and didn,t crash once.
Will have to order a new copy soon.

The hip joint on the armature came loose (un-screwed) so the thread-lock adhesive has a ? hanging over it.

Plus it was my first time using threaded tie-downs, I think I will possible adopt this method in future for keeping my puppets down on terra firma.


I have posted an out put film of all the stored frames below.


Saturday 24 March 2012

Things have ground to a slow trickle over the last few week's But I feel
the need to add a post.

A lttle sneak peak with a storyboard picture and and very old test I made.


The original robot was very heavy and clunky must remedy this for next time!

Sunday 4 March 2012

Animatic Looking good !!

The 'HORROR STORY' animatic is coming on well : ) at about the half way mark and I have got 2mins in the editor so the film is looking to be around 4mins or so long.
 

Ball & Socket Armature finished

Finally got around to finishing the feet of a ball & socket armature I made some time back.

 Also included the option of using tie-downs.

Will hopefully give this guy a bit of a walk test in the week.


Thursday 23 February 2012

Trying to walk before I can run again!

I did a walk test on a terminator style puppet I made some years back.

I set the table up far to low, the puppet seemed to disintegrate as I push it around the table and I also managed to kick the tripod a couple of time's, but all in all it felt good to be getting back into animation again even though he seemed to walk with what looked like a limp, ..............Now I need to Practice, Practice, Practice!


I have to add that the fact it seemed to disintegrate within a day is possible fare as It only took about day to build. .

Thursday 16 February 2012

I got out of the arm chair around Christmas time to do a bit of animation for an entry for the 11 second club December competition (see video below).


Wednesday 15 February 2012


Welcome to my blog, over the coming year or so I hope to take you on a journey with me, as i put together a stop motion film project that has been brewing for about the past 15 years.
At the end of January 2012 I finished the 3rd revision on a storyboard for my film and I can now say I think I am happy with the results (see picture below).