Saturday 21 September 2013

Robotic arms and assembly conveyor beltP

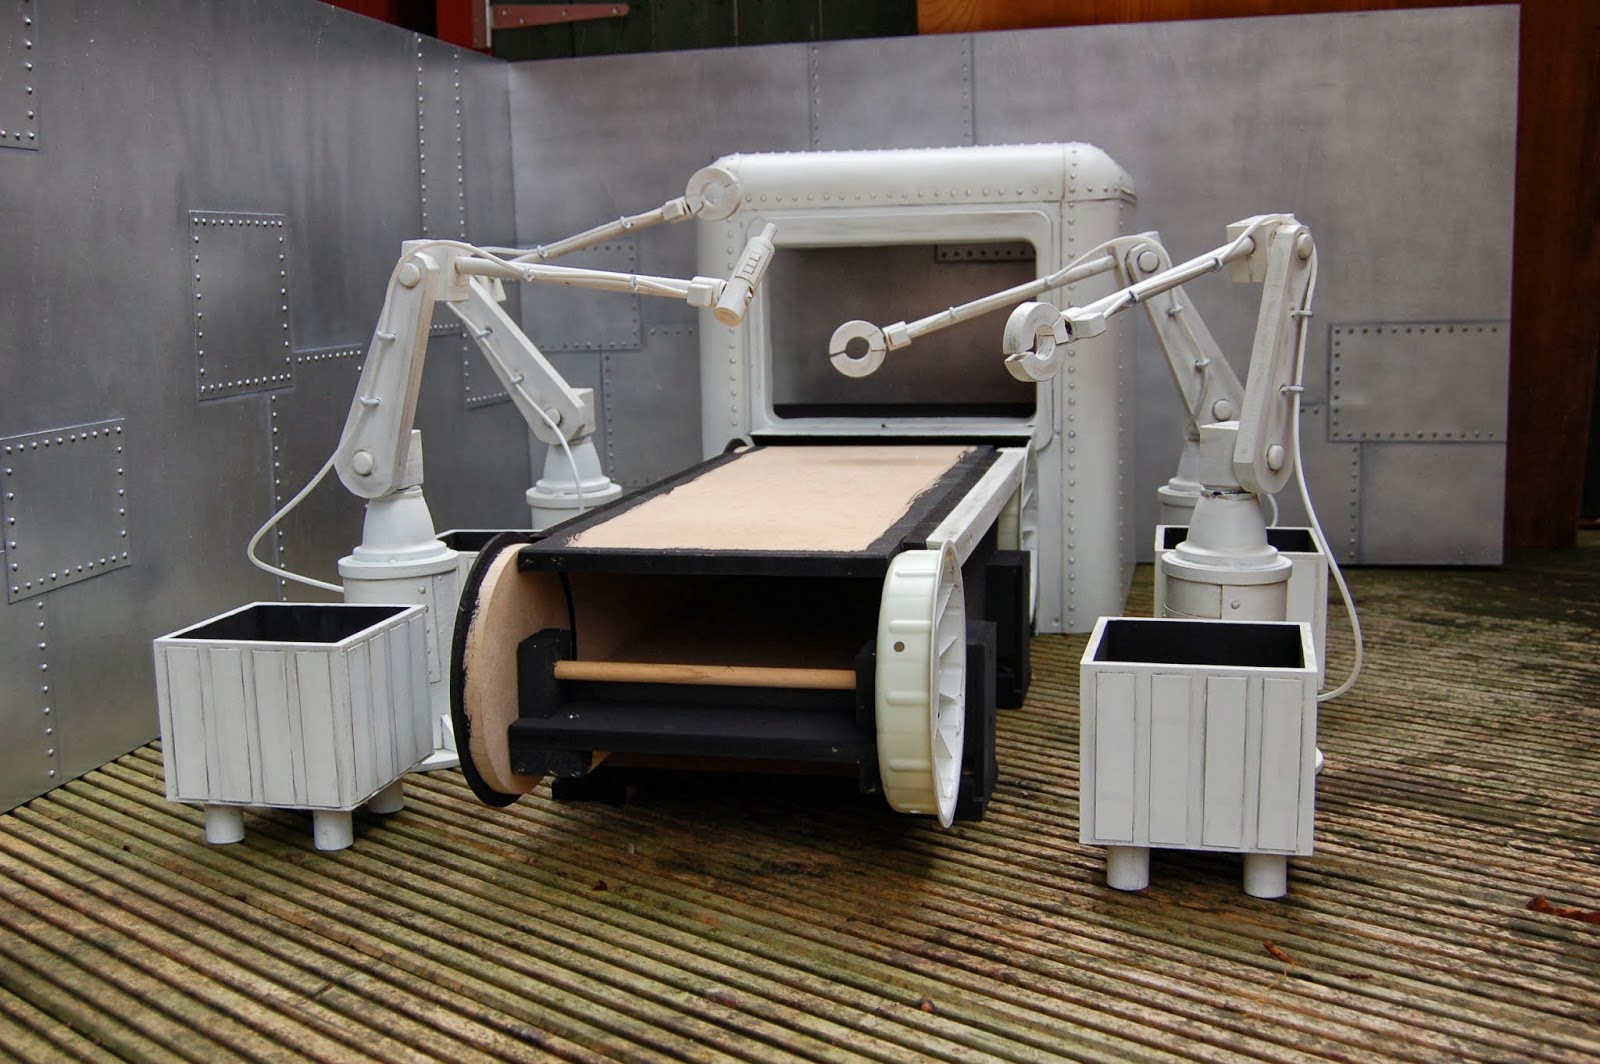
Long time no post.....well a combination of a long holiday and having to put a new roof on my Kitchen to stop it leaking has slowed things down, but I have virtually finished the Robotic Assembly machine, here are a few pics.

Picture 1

Picture 2

Picture 3

Picture 4

Another thing that has impacted a bit on the project is that I have been setting up a small Pottery business making semi-industrialised Steampunk-ish ceramics (see below).

Adding component parts to mugs


Fully assembled mugs


Small tea pot

 More to follow shortly.

Thursday 11 July 2013

Robot Assemble Machine

I have been working on the assemble machine  recently and have few photos to share....I have used artistic licence and have veered off course from the original design of the robotic arms, but I am please with the results.


Original design sketch


Asssemble Picture 1

Assemble picture 2


Robotic Assemble Arm close-up

Again I have used the split lentil rivet effect on all these set pieces. 

Also I have been getting to grips with some cool static electricity effects in Abobe After Effects.

Chow for know more to follow soon.


Sunday 12 May 2013

Wallpaper, Metallic walls and Tiles

I'm coming to the end of finishing the decoration of the wall panels for the sets but felt I was over due for an update on my blog, so no sooner said I pulled out all the panels into my small lounge and set things up for a little photo shoot to see how close I am to my vision for the film, once all laid out I took the photos and when I reviewed the photos on me PC it was plain to see that in some cases I had surpassed my vision.
Close-up look at the quick set-up and release for the corners of the sets.

Mini room in my small lounge.

Kitchen set-up with comparison storyboard picture.
Bedroom (with door) set-up with comparison storyboard picture.
Bedroom (with bed) set-up with comparison storyboard picture.

Interior spacecraft (1) set-up with comparison storyboard picture.

Interior spacecraft (2) set-up with comparison storyboard picture.
Interior spacecraft (3) set-up with comparison storyboard picture.
Tiles cut to size ready to stick for splash back.


When doing a rough count I calculated that there was about a 1000 riveted lentils that I had measured, marked, glued on then finished with a dark grunged paint effect to add more depth....I must be mad! has it been worth it?....I think so!

Upload blog then back to work......stay tuned more coming soon.

Monday 22 April 2013

In the Soup with lentils!

Set walls, Set walls, and more set walls!!

I have been working hard trying to get all the set walls built altered  and finished, I previously mentioned about using lentils for a riveted effect on the internal spacecraft walls.......well  I have done 1 and a bit panels (which took forever) and have these made up to a grey primed finish...see picture below.
 
Inner wall of spacecraft riveted and primed

Large side window looking into space

Entrance into spacecraft sequence

Kitchen door panel and storyboard comparison

Window inset into kitchen wall
I'm very pleased with how the rivets are looking but there are still about 6 more panels to do!! but still unsure of the finish for these panels.
Also have decided on a Julian Clarkes armature for the last puppet which I recieved the other day, more about that soon.

Saturday 6 April 2013

Doors come in all shapes and sizes!

I have been working on some of the internal doors for the sets.

Picture (1) back and front of door from humble kitchen to future space world.


Picture (2) renovation of the Escape pod door......the wife bought a cherry pie from the local Supermarket and the plastic packaging was the perfect size to go on the centre of the door, it had some embossed writing on a few panels so I cut some rectangular bits of hardboard to cover them up.
I then finished the curround super gluing more split lentils for rivets. 


Tuesday 2 April 2013

Staircase video tutorial

This tutorial took me longer to edit than I had expected....condencing about 1 1/2 hr footage down to about 16 mins.
Didn't manage to get it done before my Easter break away but here it is now.


Friday 8 March 2013

Stairway to success....lets hoping!! (Double Post)

Long time since I built some stairs.....but not to this scale!

I have built a small bottom portion of a staircase to help the narrative of the story.
Painted stairs
Finished staircase angle 1
Finished staircase angle 2
 
Complete with stair rods


Stair rods made from cut pieces of 2mm Ali armature wire with gold paint.
Due to a previous request I also made a video of the making of the stairs which I hope to get edited and uploaded possible some time next week.


----------------------------------------------------------------------------------
Old sets & rivets

I dragged out the original space craft set from my loft the other day to see how things had fared, things on the whole are looking good.
I have changed and updated things since I first came up with the story so my next job was to see how the set fits in....... it's looking like only a few extra panels to build, that's pleasing but I have decided to go with the riveted look so now that's a lot of work.


The sets will be re-skinned with hardboard before panelling a rivets are attached