Friday, 14 December 2012

Everything and the Kitchen Sink

I dug out the old kitchen sink from my original set, looks in good shape! ...well apart from a couple of small cracks in the sink, sink and work top are thanks to my old friend Michael Allsop Smith 
Kitchen base units work top & sink
Kitchen sink and taps

......also been a little busy doing some more pottery must get these up for sale soon!
Biscuit fired mugs (various styles)
Biscuit fired mechanical mug (close-up)
Mechanical mugs glaze style 1
Mechanical mugs glaze style 2
Standard mug blue and green glaze


Wednesday, 12 December 2012

Hands & Rivets

I have put together a series of photo's showing the stages of the hands construction
Ruff cut foam hands with Ali wire armature + K & S sleeve

Hands with armatures and foam snipped to shape
Paper templte for fabric + finished hands
Sprayed black arm + lentils glued on robot bodies for rivet effect.

Monday, 10 December 2012

Arms a new direction!

After the slight problems I had with the arms I desided to try another idea.

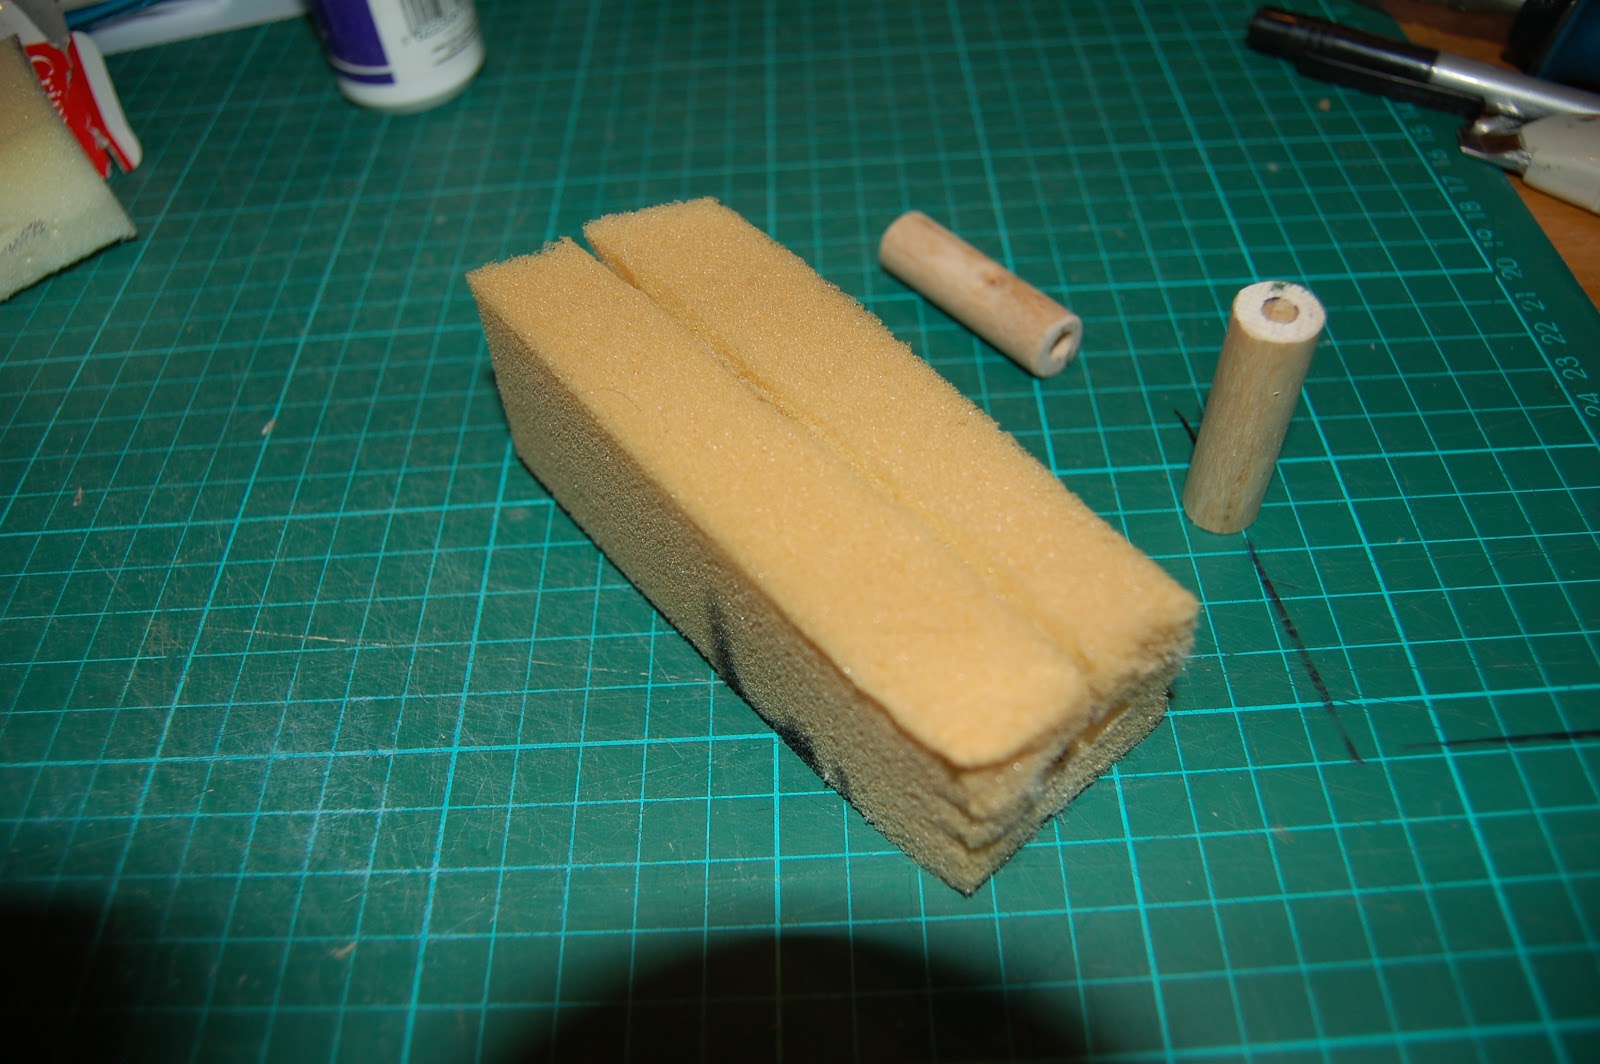
First I cut oblongs pieces of foam then sliced them down the middle, then I cut a recess along the centre line to accept two dowel arm stiffeners that I had previously cut which were all glue in place with fabric glue, I further sniped the foam to make a more round uniform shape.

Then I machine sewed a tube of stretchy fabric together,
next job I squeezed the foam into the fabric tube shape then hand sewed the ends up.
To finish of the arm shapes I rapped wire around a broom handle before twisting the ends together (4 wire rings per arm) these rings I slid over the fabric and sponge arms.

 And to finish off the arms I made an internal Aluminium wire armature with Brass K & S socket ends. 

 (see picture below)


Thursday, 6 December 2012

It's about time I did another update!!

Since the end of the summer I have been busy with jobs on my home, I am know getting back on track with the business at hand…..finishing my Robots.

The next step was to make the arms, these I decided to make out of silicon, so first off I set about making the arms out of a waxed based clay, after a couple of attempts to sculpt the arms I realised I wasn’t going to achieve the uniformity I was after,

So with my thinking head on I struck upon the idea of turning the arm shape out of wood on my lathe, after gaining some success with this approach I then sanded and spray finished the turned shape before attaching a sculpted hand ready for molding (see images below).

Turned arm shape


Arm ready to be moulded

Casting mould sides  (Sorry no pictures for this next stage) 

the next step I set the arm half way in the mould on a bed of ceramic buff grey clay and smoothed this around the arm to the half way mark that I had previously made on the arm shape then I made 2 round keying shapes in opposing corners next I poured the plaster.

Next day I removed the base panel and removed the damp grey clay, after cleaning up the mould side I waxed it before pouring the second sided with plaster, after another 24 hrs or so I removed the out side panels then slowly prized apart the mould sides.......PROBLEMS!  the plaster mould hade not released it self from the arm shape, on close inspection small fibres had been standing up inside the grooves of the arm and had keyed in these finer grooved details, also moisture had got in to the wood bloating the shape making it slight deformed.

Back to the drawing board!


 Delivery from Ebay

I had been following several  variable transformers on ebay and had won one of the auctions......Large parcel arrives in the post.

This I hope will guard me against any bad flicker from the film lighting.

Variac Transformer


 More updates coming soon